|
|
Post by debelizmaj on Apr 4, 2015 3:45:10 GMT
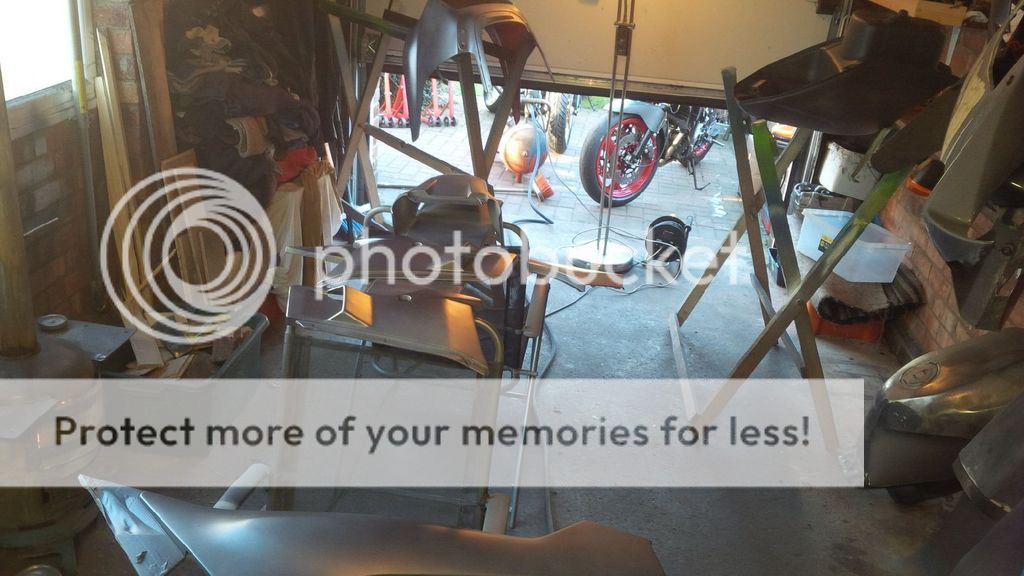
we all share the love with your garage  <3 |
|
|
|
Post by moto1818 on Apr 21, 2015 3:19:28 GMT
|
|
|
|
Post by moto1818 on Oct 1, 2015 8:57:10 GMT
Hi all. I'm sorry for lack of updates but I have had other more pressing commitments like repairing my YZF750 after crashing it on the way home from work and helping my Son build his first bike and getting him on the road but now I'm ready to complete my projects.
Not a huge amount to add but all my bodywork is prepped ready for paintwork and my 2MG motor is now fully rebuilt after the gearbox output bearing was replaced, I freshened up the head, lapped in all valves etc, it should run beautifully.
I have been given a full EXUP back end but was wondering whether it's worth the work for the 2MG or not? thoughts?
I have taken plenty of pictures and will upload in the next few days, cheers.
|
|
|
|
Post by debelizmaj on Oct 29, 2015 1:12:37 GMT
hope you all ok ...
|
|
|
|
Post by moto1818 on Feb 21, 2016 2:36:03 GMT
Time for an update, sorry for lack of information but you know what it's like!!!
Basically both bikes mechanically sorted, 2MG had full engine rebuild with gearbox bearings etc.
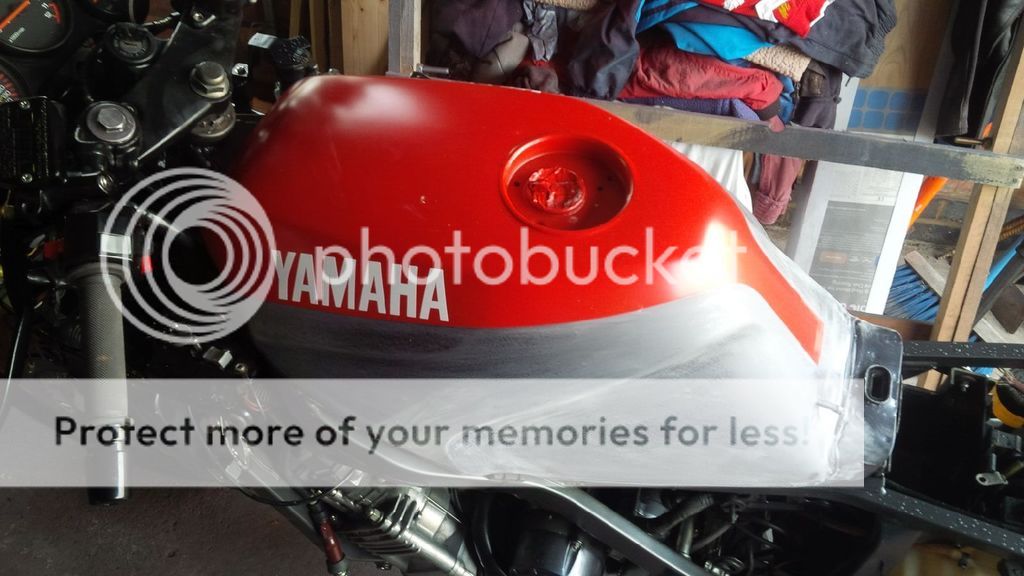
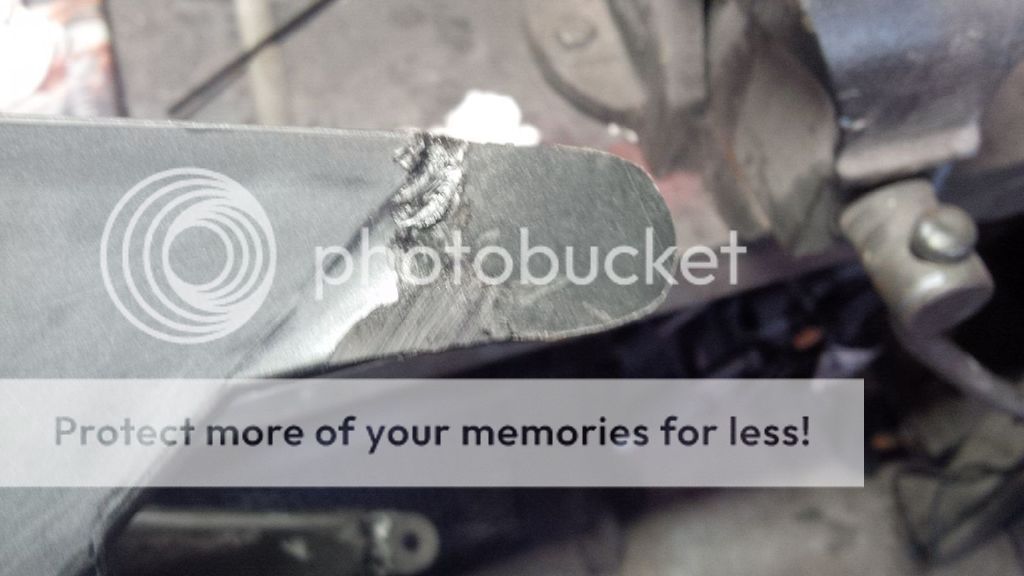
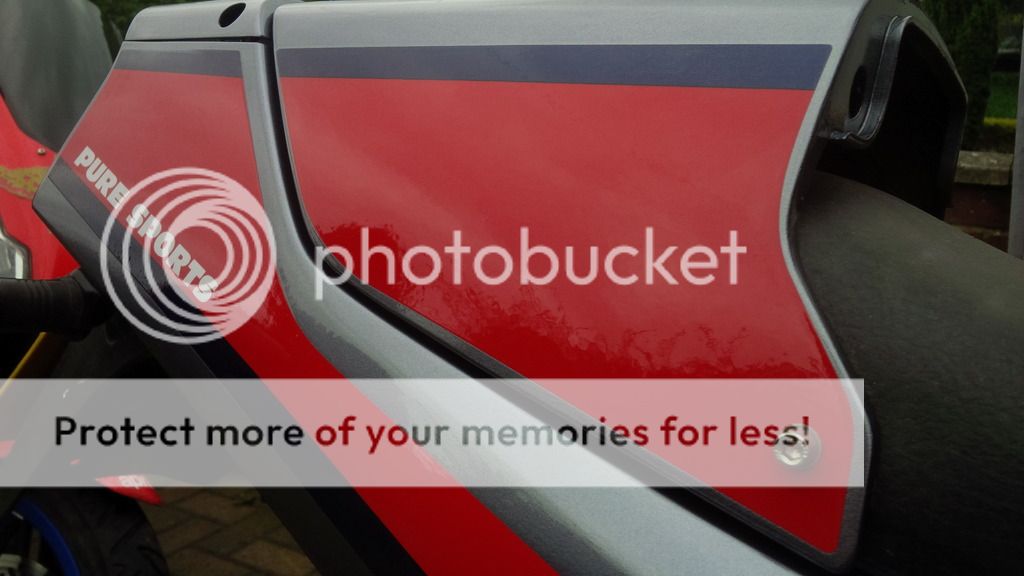
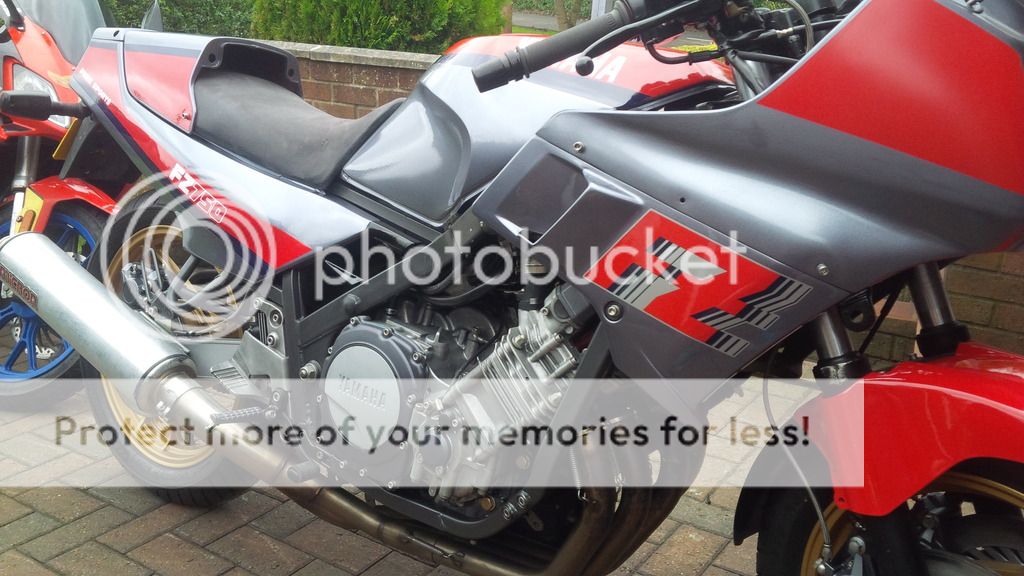
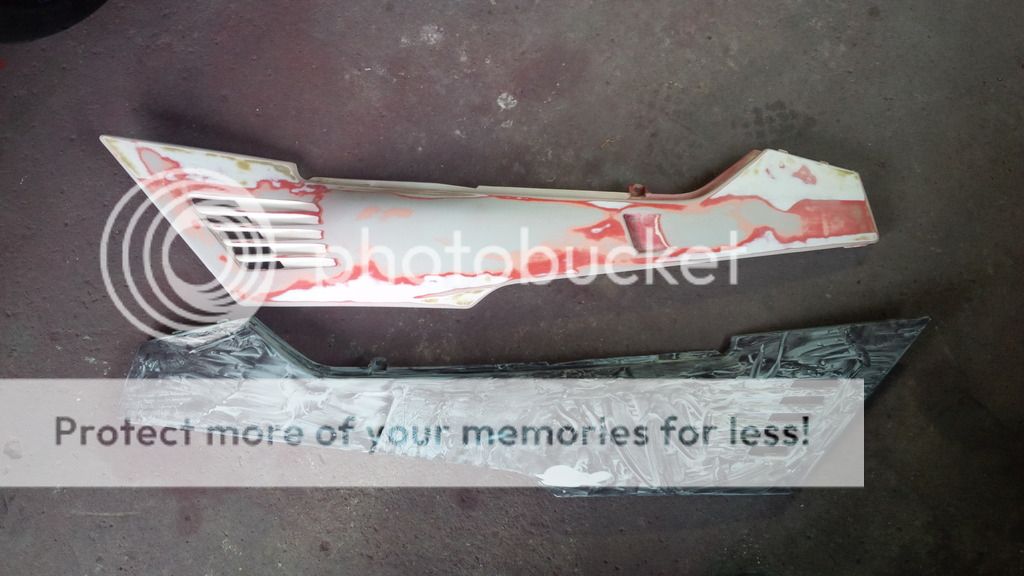
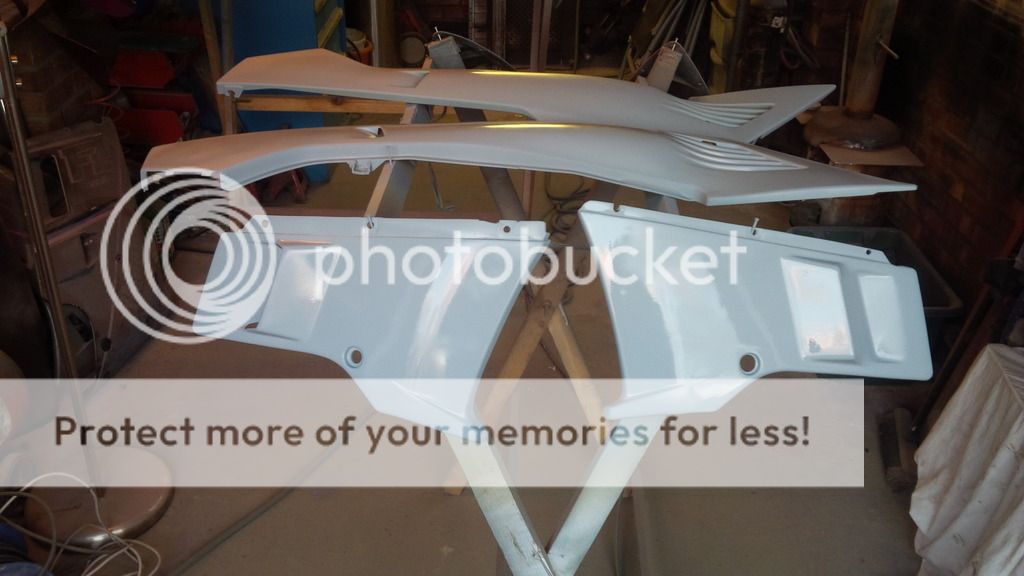
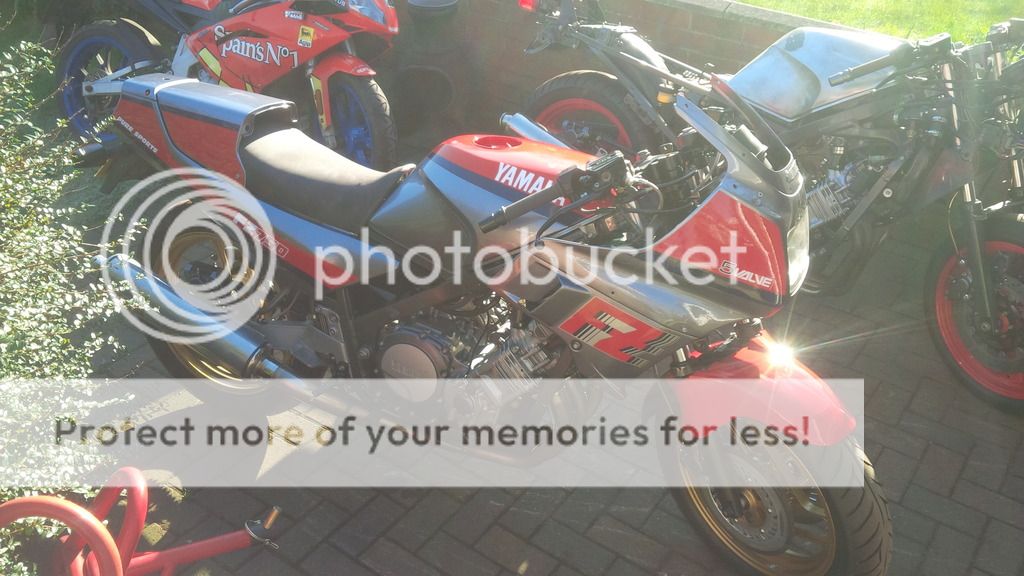
I have started on the paintwork on the 1FN, I have gone for a traditional style with a darker grey, tell me what you think? All panels had some sort of damage, I always use ABS welding rods with a big fat soldering iron to repair plastics, in my view far better than fibreglass etc. I start by thoroughly cleaning all panels then set to work prepping, this can be soul destroying but it directly affects the finished product so patience is key!!!!! I always strip all paint off any metal work. 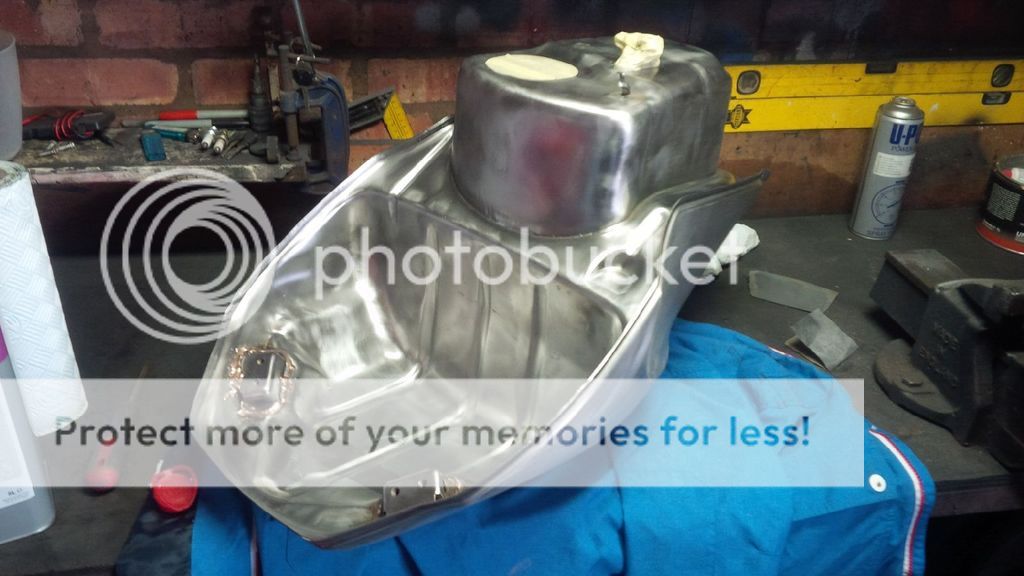
Then clean, degrease and a couple of light coats of etch primer.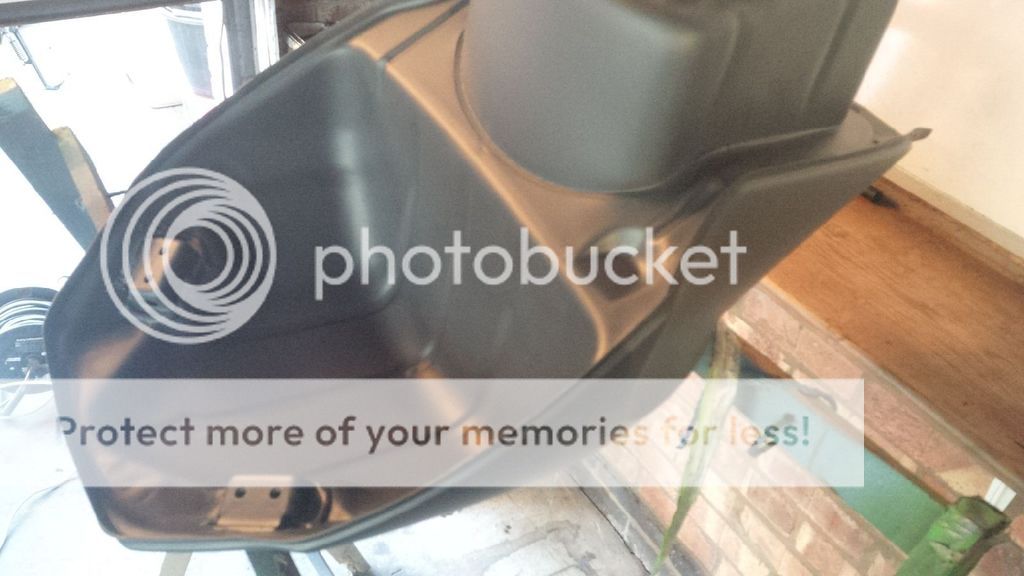 After priming and re-sanding with 600 grit wet/dry I lay down the base coat. 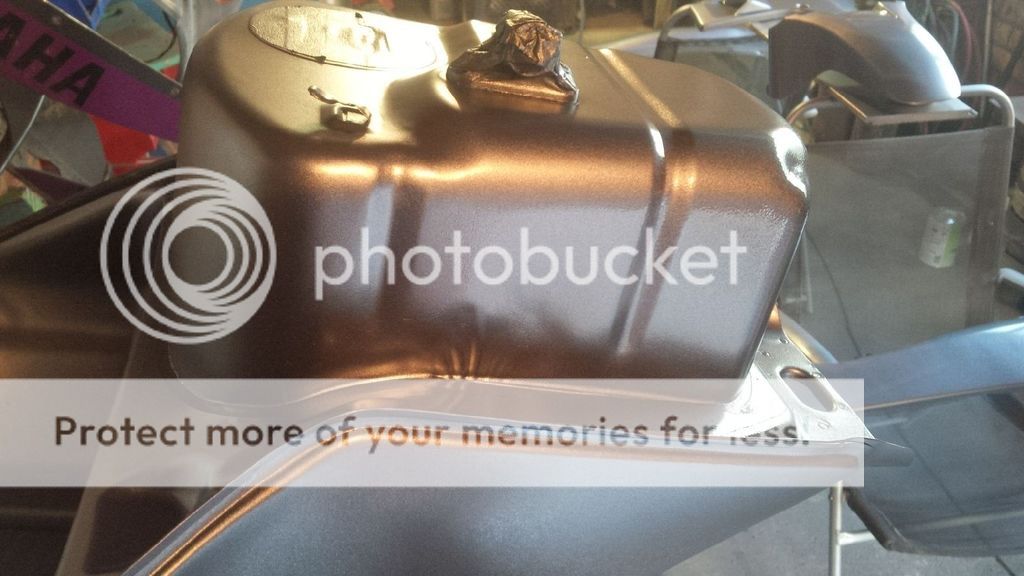
I then 600 wet/dry the base coat and in this case lay down the red base coat and decals, this is where I get my decals, first class service and top quality. 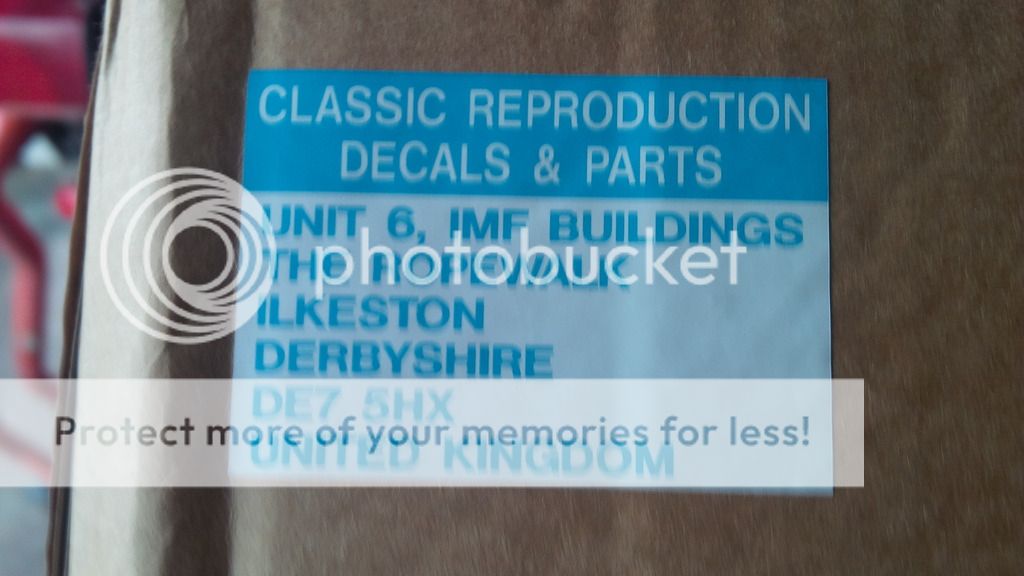
Then I give it six coats of 2 pack lacquer, this gives me two coats for sanding for a mirror finish (hopefully) I haven't got great facilities so I do get a lot of inclusions in the lacquer but sanding makes them all but disappear. The pictures of the lacquered panels are still drying so the finish is not satisfactory yet but after sanding should be very nice. Some other piccys of repaired panels etc. 


Lots more pictures to follow. 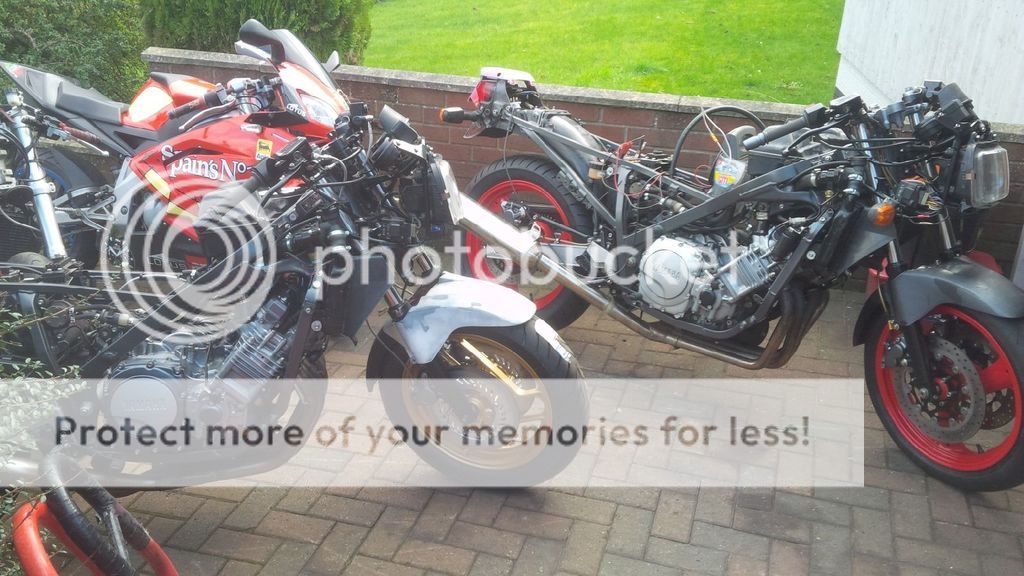
|
|
|
|
Post by Graham on Feb 21, 2016 11:49:49 GMT
I love everything you have done here. These bikes will be stunning when you've finished them. Really impressive work. Thanks so much for sharing your progress with us.
I know its quiet on here these days since the Facebook group started but there are still some who don't have access so its great to see these updates.
|
|
|
|
Post by moto1818 on Feb 21, 2016 19:17:00 GMT
I love everything you have done here. These bikes will be stunning when you've finished them. Really impressive work. Thanks so much for sharing your progress with us. I know its quiet on here these days since the Facebook group started but there are still some who don't have access so its great to see these updates. Hi, thanks for that Graham, very much appreciated.
I would like your honest opinion on the clutch/rocker covers etc, basically all the stuff that is the classic Yamaha gold if you know what I mean. I think the 1FN looks slightly bland because of my colour choice, what do you think? I feel the same way with the brake Calipers and am looking for opinions?? For that matter if anyone has any constructive opinions good bad or indifferent I would love to hear them, my goal is to improve and feedback is a vital part of that process, I'm not sensitive so please let me know!!.
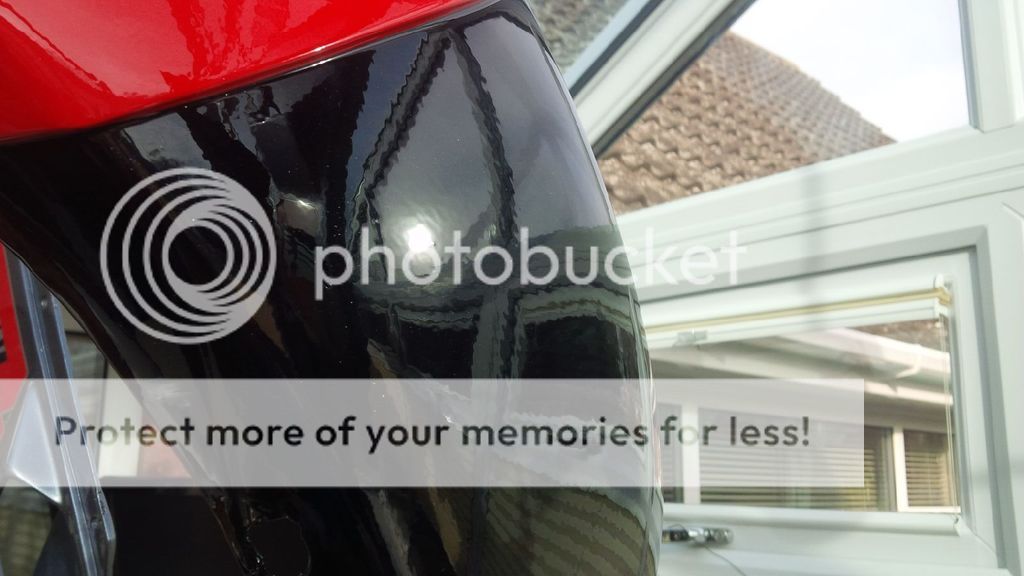
A few more pictures of the bodywork, the top fairing is not finished or clear coated yet as I wasn't happy with it and started again, its all been loosely fitted for the last time before I wet sand the clear coat. I'll do this with 1200 grit and it will take me two or three days as I take my time with it. I'll them use cutting compound on the panels working from the coarse down to the fine grade, I use Farecla stuff, the best in my view.


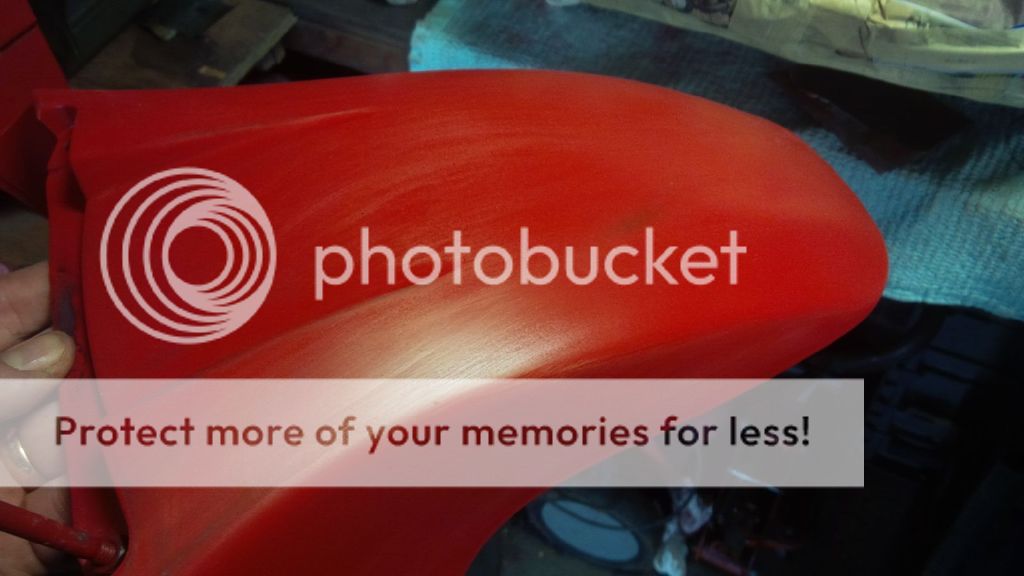
I am happy with the mudguard, it was cracked to blazes when I got it, now given a new lease of life, this is what I love about restorations.


|
|
|
|
Post by moto1818 on Feb 21, 2016 19:47:23 GMT
More pictures of the detail stuff.
I re-plate all my own bolts etc, that's not rust on the end of the swing arm bolt, its copper grease . I use a firm called Gateros plating, they give very good customer support. It's took a while to be competent but I'm improving all the time, my advice is do EXACTLY as the procedure calls for, temperatures etc and it'll be fine. Any deviation from the correct way and you have problems.

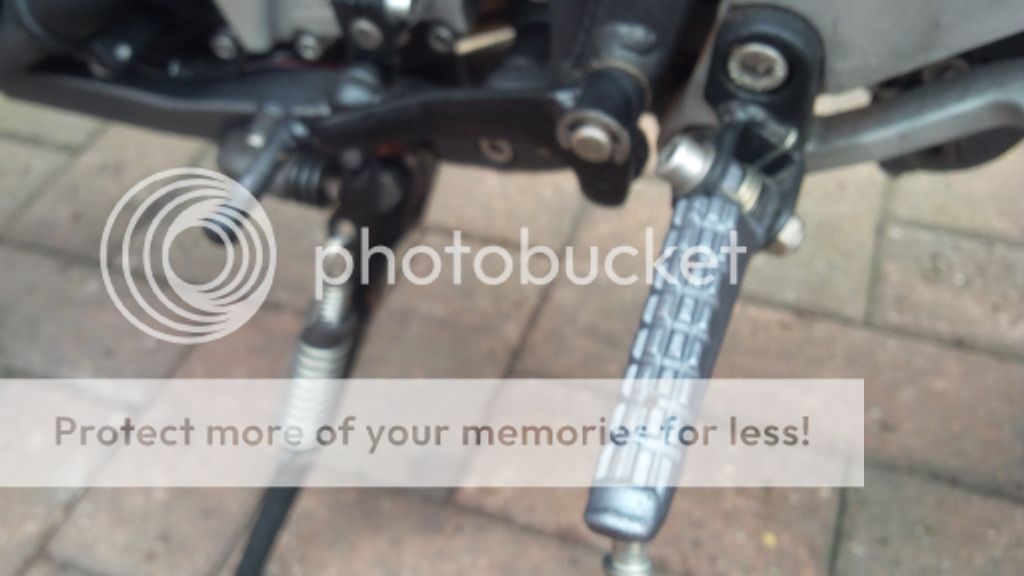


Some of the 2MG stuff I'm prepping at the moment, I'm right in the middle of toughing it out!! It takes some effort to sand and repair at 0'C sometimes but I always get my arse in the garage and make something happen!


Some plated bolts, these are for my YZF750.

This is the red I chose that most closely matched the original, my paint supplier always try hard to get the job right.

|
|
|
|
Post by moto1818 on Feb 21, 2016 22:06:46 GMT
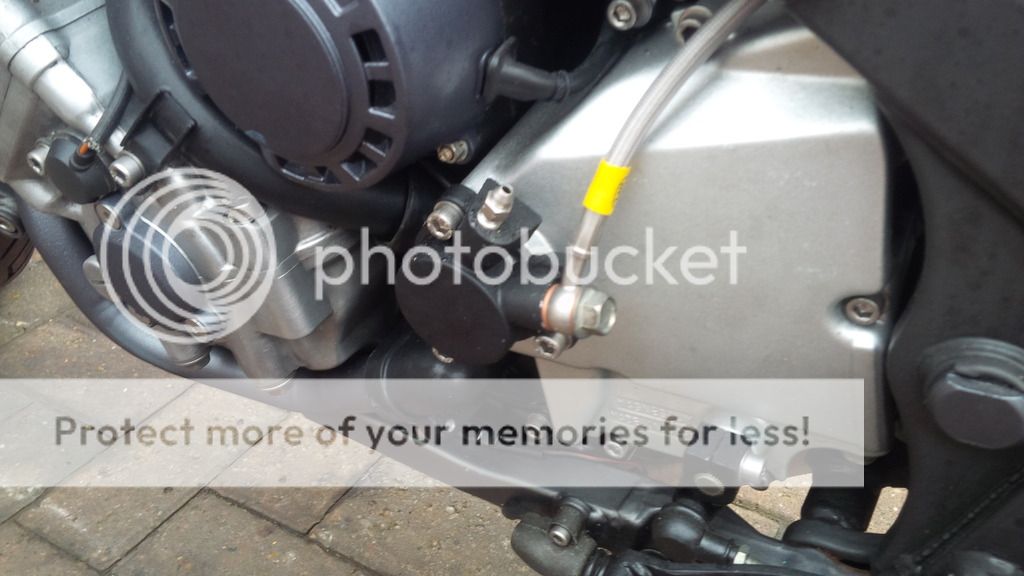
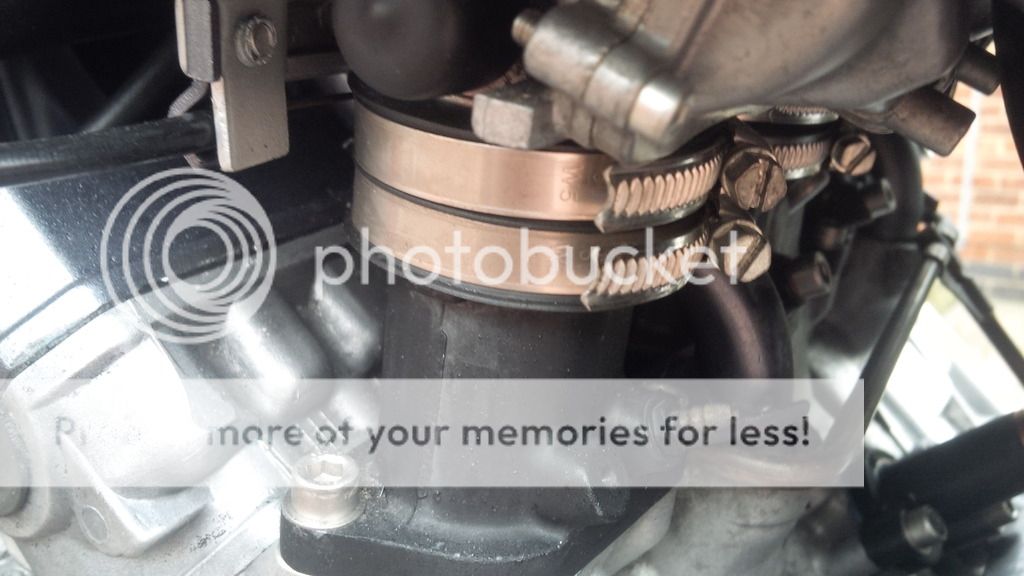
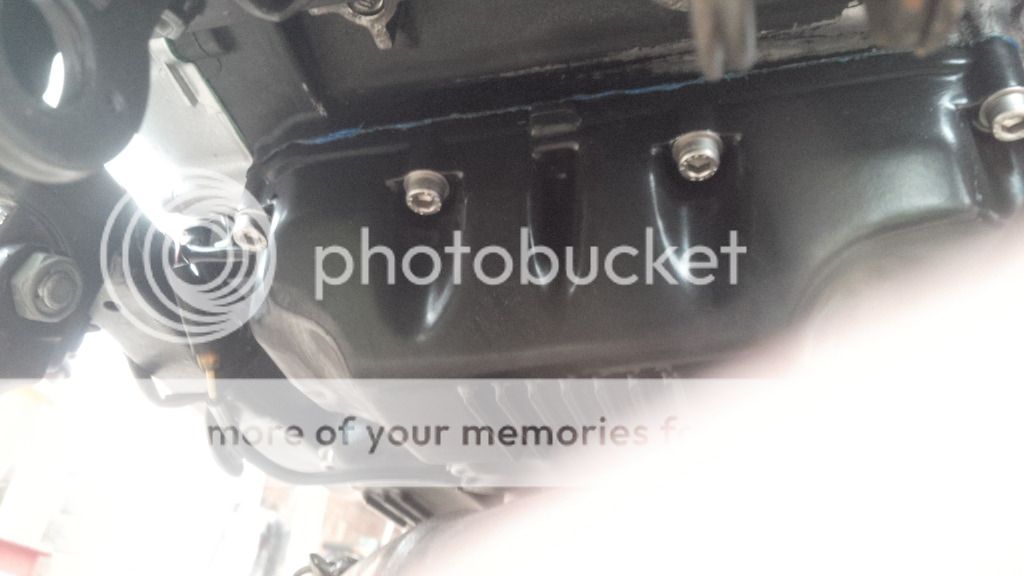
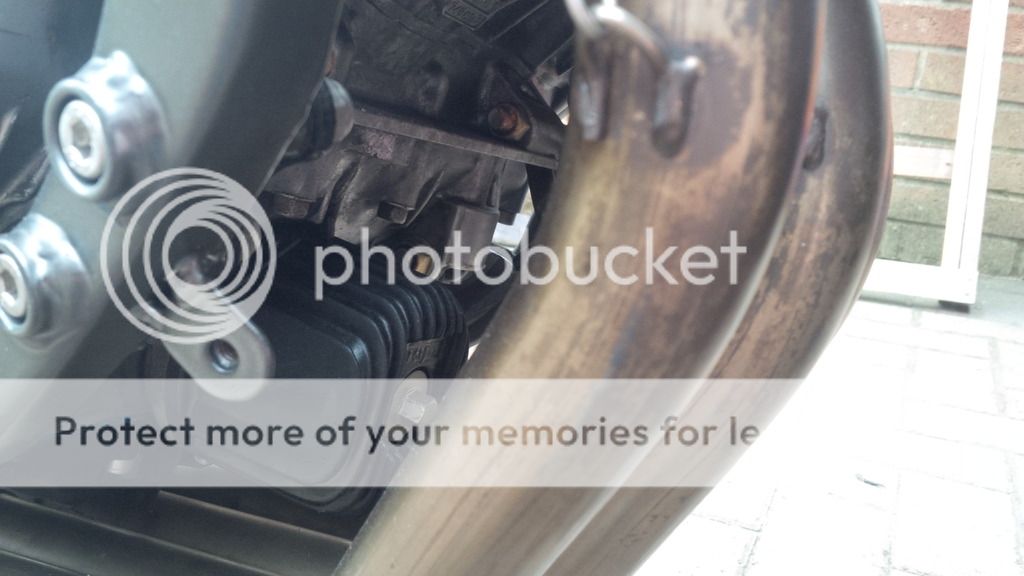
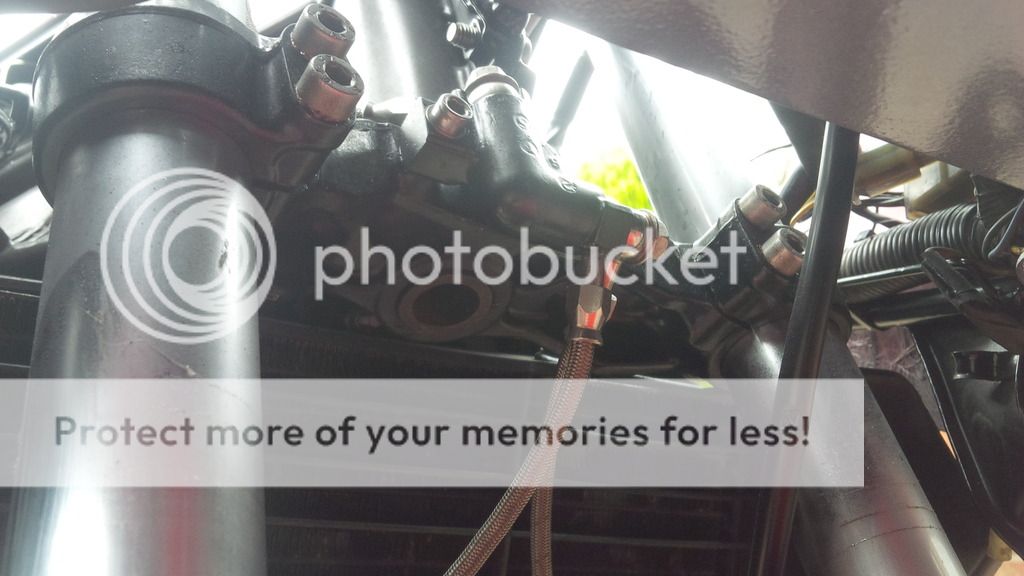
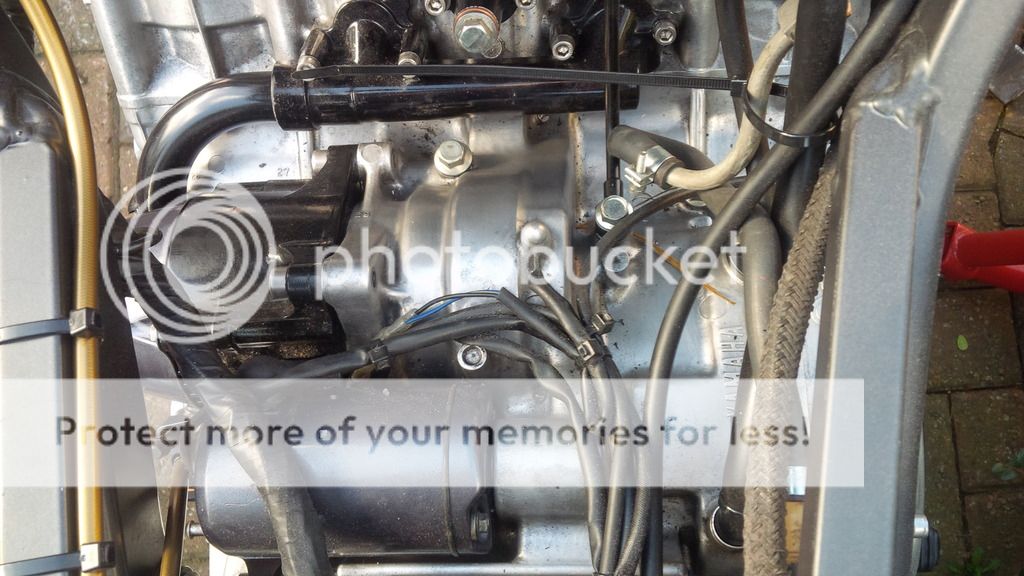
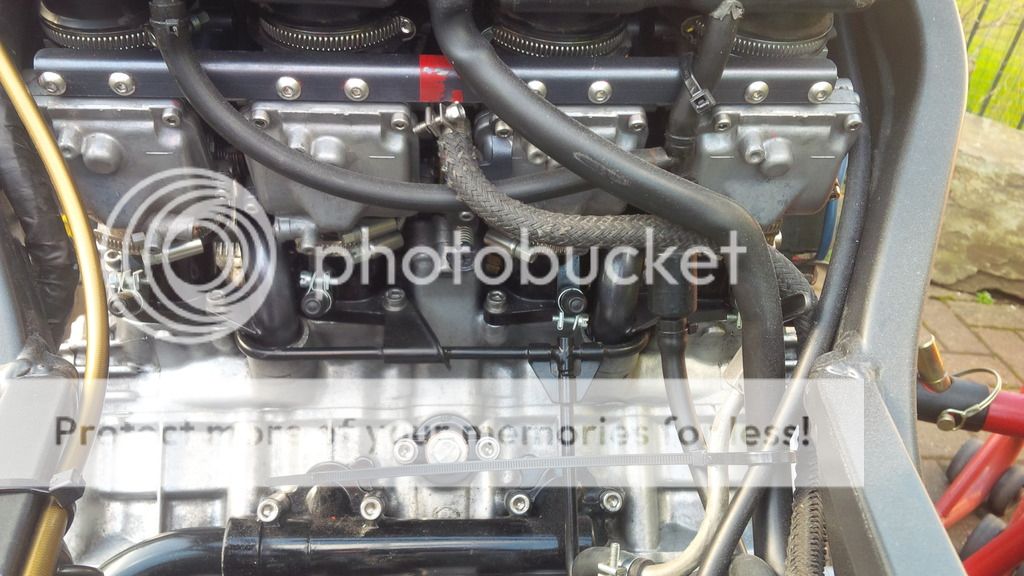
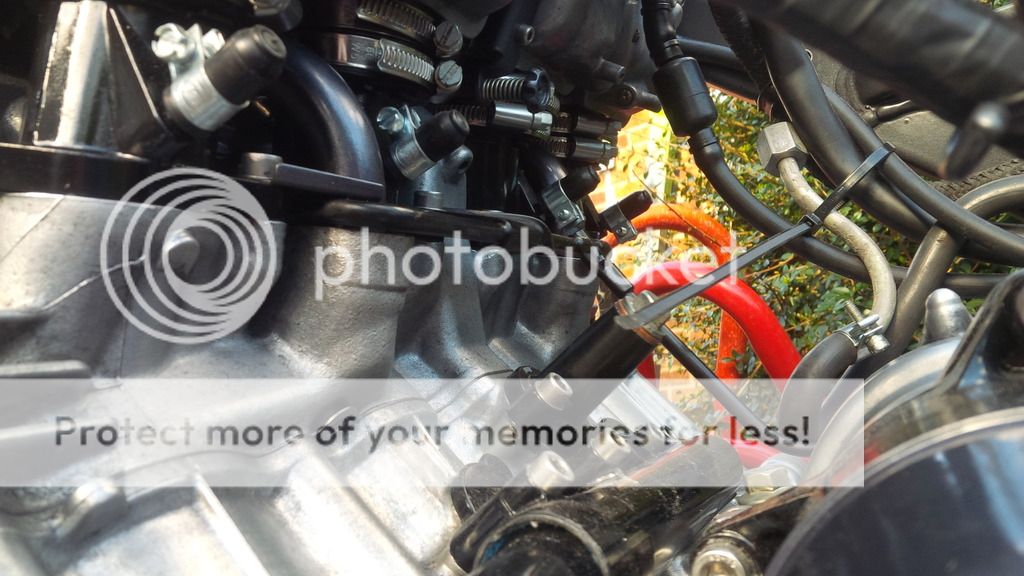
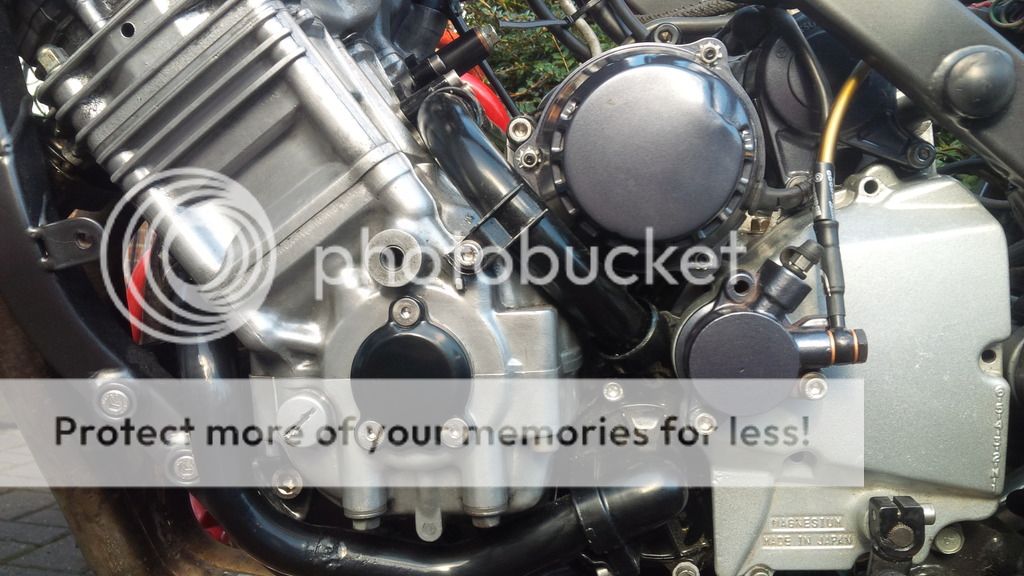
Some detail pictures of 2MG.
Engine on this bike has had a birthday, all gearbox bearings replaced along with seals, all big end/main shells where fine and went back in along with the piston rings. I had to decoke the lands on the pistons which surprised me slightly but there was zero wear on the rings. All valve train/cams are perfect but valve clearances where all out after I'd reground the valve seats, what a pain in the arse but they are set perfectly now.


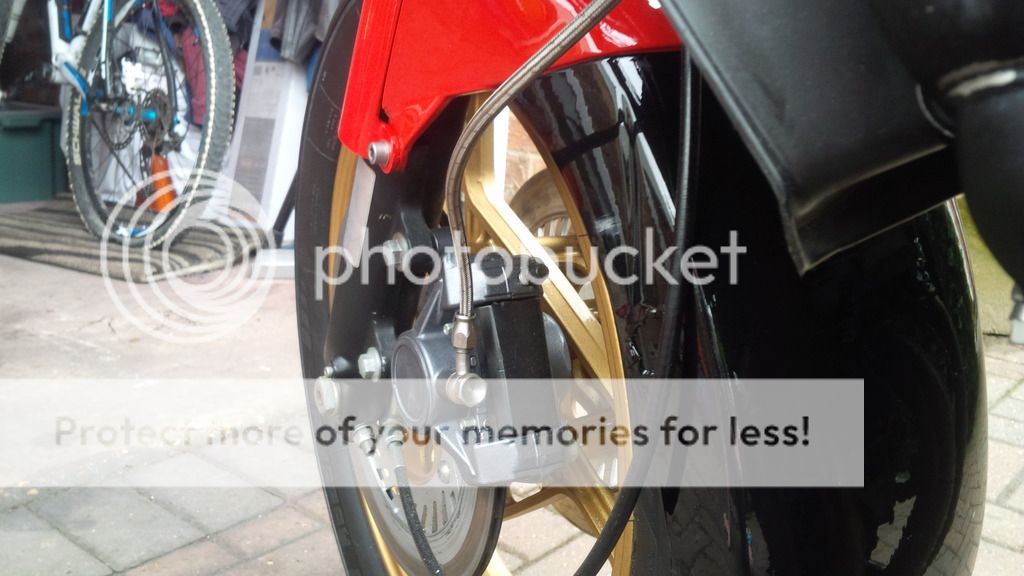
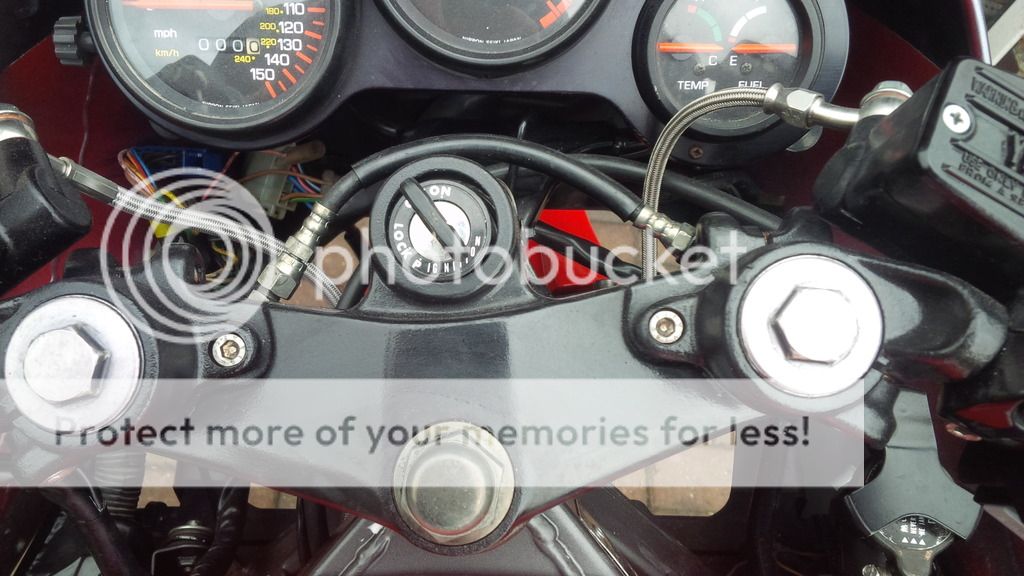
I have tried the Gold series Goodridge hoses on this bike, they look nice but I'm disappointed with the plating on the banjo bolts as all are marked slightly after I'd fitted them, this shouldn't happen, poor finish.

|
|
|
|
Post by moto1818 on Feb 21, 2016 22:14:58 GMT
Some pictures of my YZF750 front/back end, Its going to be a Yamaha France endurance racer replica. I painted the Calipers in Gold and wheels in blue with metal flake, my Son said I'm Gay because I put some metal flake in there!! I have been practicing the Olive Green effect on the plated bolts, what do you think? They are clearly not a perfect match but I'm getting there, you have to get the Olive passivate temperature and dip time just right after plating, still have some learning to do but I'm happy just now.


|
|
|
|
Post by Graham on Feb 21, 2016 22:53:23 GMT
I don't think there's much if anything I could tell you that you don't already know but I think 1200 grade paper sounds a bit harsh to finish with. I have used 1500 followed by 2000 then polish. It makes each stage easier. Trying to polish after 1200 sounds like hard work to me. Engine casing colour is just a matter of personal choice. If you're going for all original then definitely gold on the 1FN but it looks just fine to me as it is. Feel free to post some pics of your YZF.  |
|
|
|
Post by fzjamie on Feb 22, 2016 9:42:30 GMT
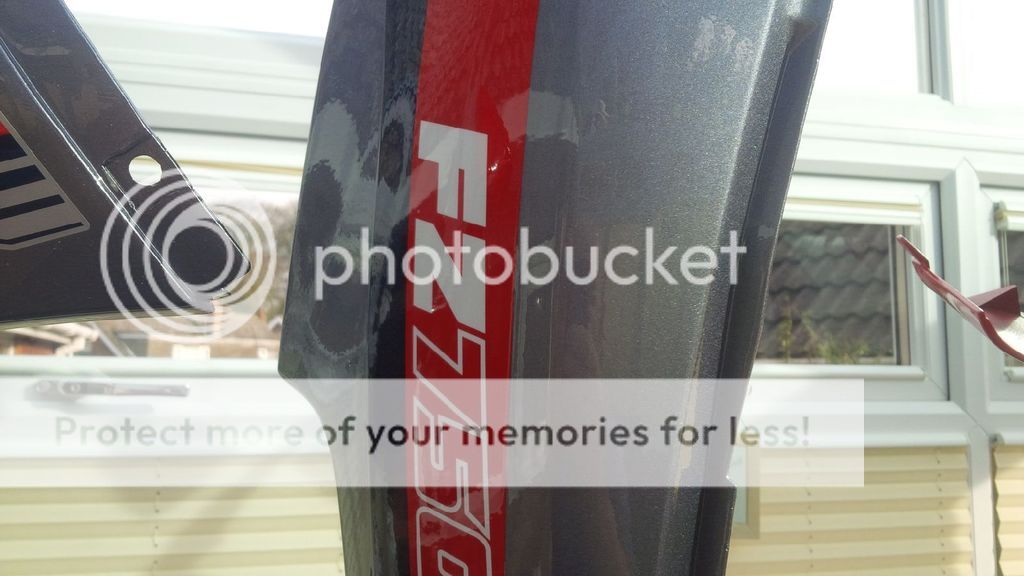
Stunning work - thanks for sharing. Seems disingenuous to criticise when I know I have neither dedication nor skills to do anythinging remotely like this - but.. The FZ logo on the 1FN lowers seems a bt too contrasting on it's background colour.
Keep the pics coming and prove the forum is still living !
PS - Metalflake gay ? Well maybe a just little..
|
|
|
|
Post by moto1818 on Feb 22, 2016 14:03:20 GMT
Stunning work - thanks for sharing. Seems disingenuous to criticise when I know I have neither dedication nor skills to do anythinging remotely like this - but.. The FZ logo on the 1FN lowers seems a bt too contrasting on it's background colour. Keep the pics coming and prove the forum is still living ! PS - Metalflake gay ? Well maybe a just little.. Hi, thanks for your comments! I agree about the FZ logo, I ordered up the decal set not realising that the background colour on the decal is of the original colour which was a lighter silver, that differed from the colour I chose for the bike but I pressed ahead and fitted the decal anyway. I wonder if I could have been more disciplined and found an alternative ha! I like metal flake but since I have done it I find myself drawn to trying on tight leather jackets and jeans........very odd. |
|
|
|
Post by moto1818 on Feb 26, 2016 12:02:29 GMT
Hi,
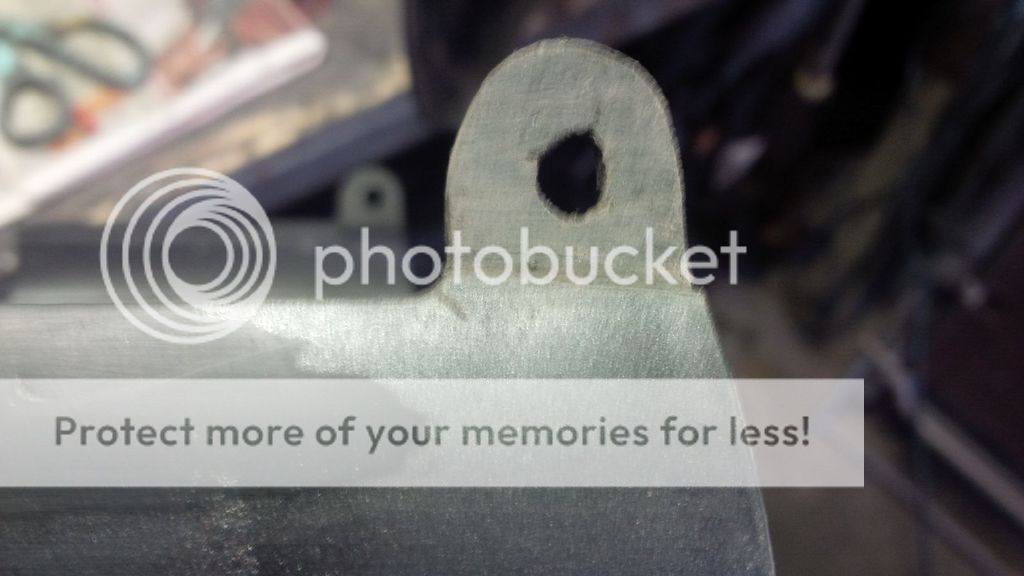
A few more pictures of the bodywork prep on the 2MG and some of the detail stuff on it.
All ready for the isolator coat after all the initial prep work is complete.

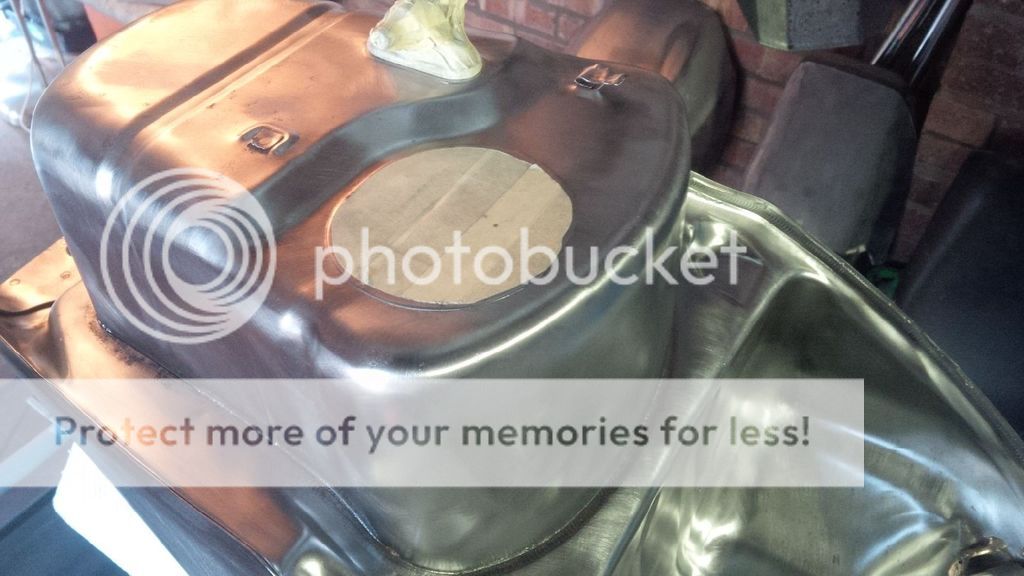
This is the isolator I use, never given me any issues, one light coat and its ready for the primer.

Primer applied.
Then a guide coat to sand the primer back ready for basecoat, any issues with high/low spots will be picked up with the guide coat.

After carefully sanding down, I use 600 wet/dry and any issues have been resolved your ready to lay the basecoat, in my case it was black with a silver pearl. When the black was done, I masked off the red, then after that was dry did the silver stripe.
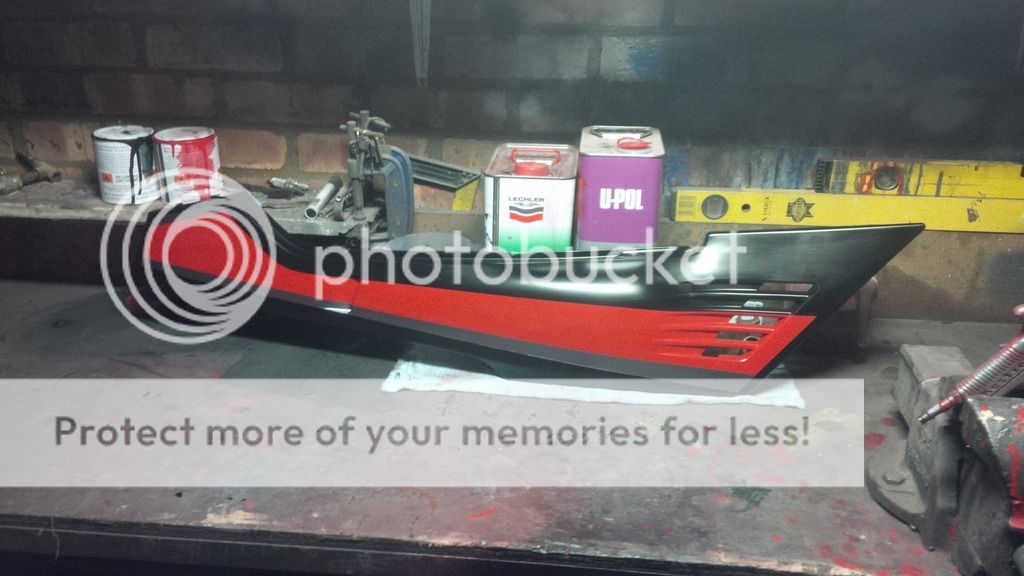
All ready for decals and clear coat, I'm working for a few days so it'll wait till then.
Some details of the engine stuff.
I'm holding out for a new old stock shocker, any ideas?

|
|
|
|
Post by moto1818 on Feb 26, 2016 12:07:07 GMT
Couple of pictures of the 1FN, all ready for the clear coat to be sanded, I leave it a week or so for it all to dry. Not sure if that's over the top but I don't have an oven, just a conservatory!!
|
|


 <3
<3


